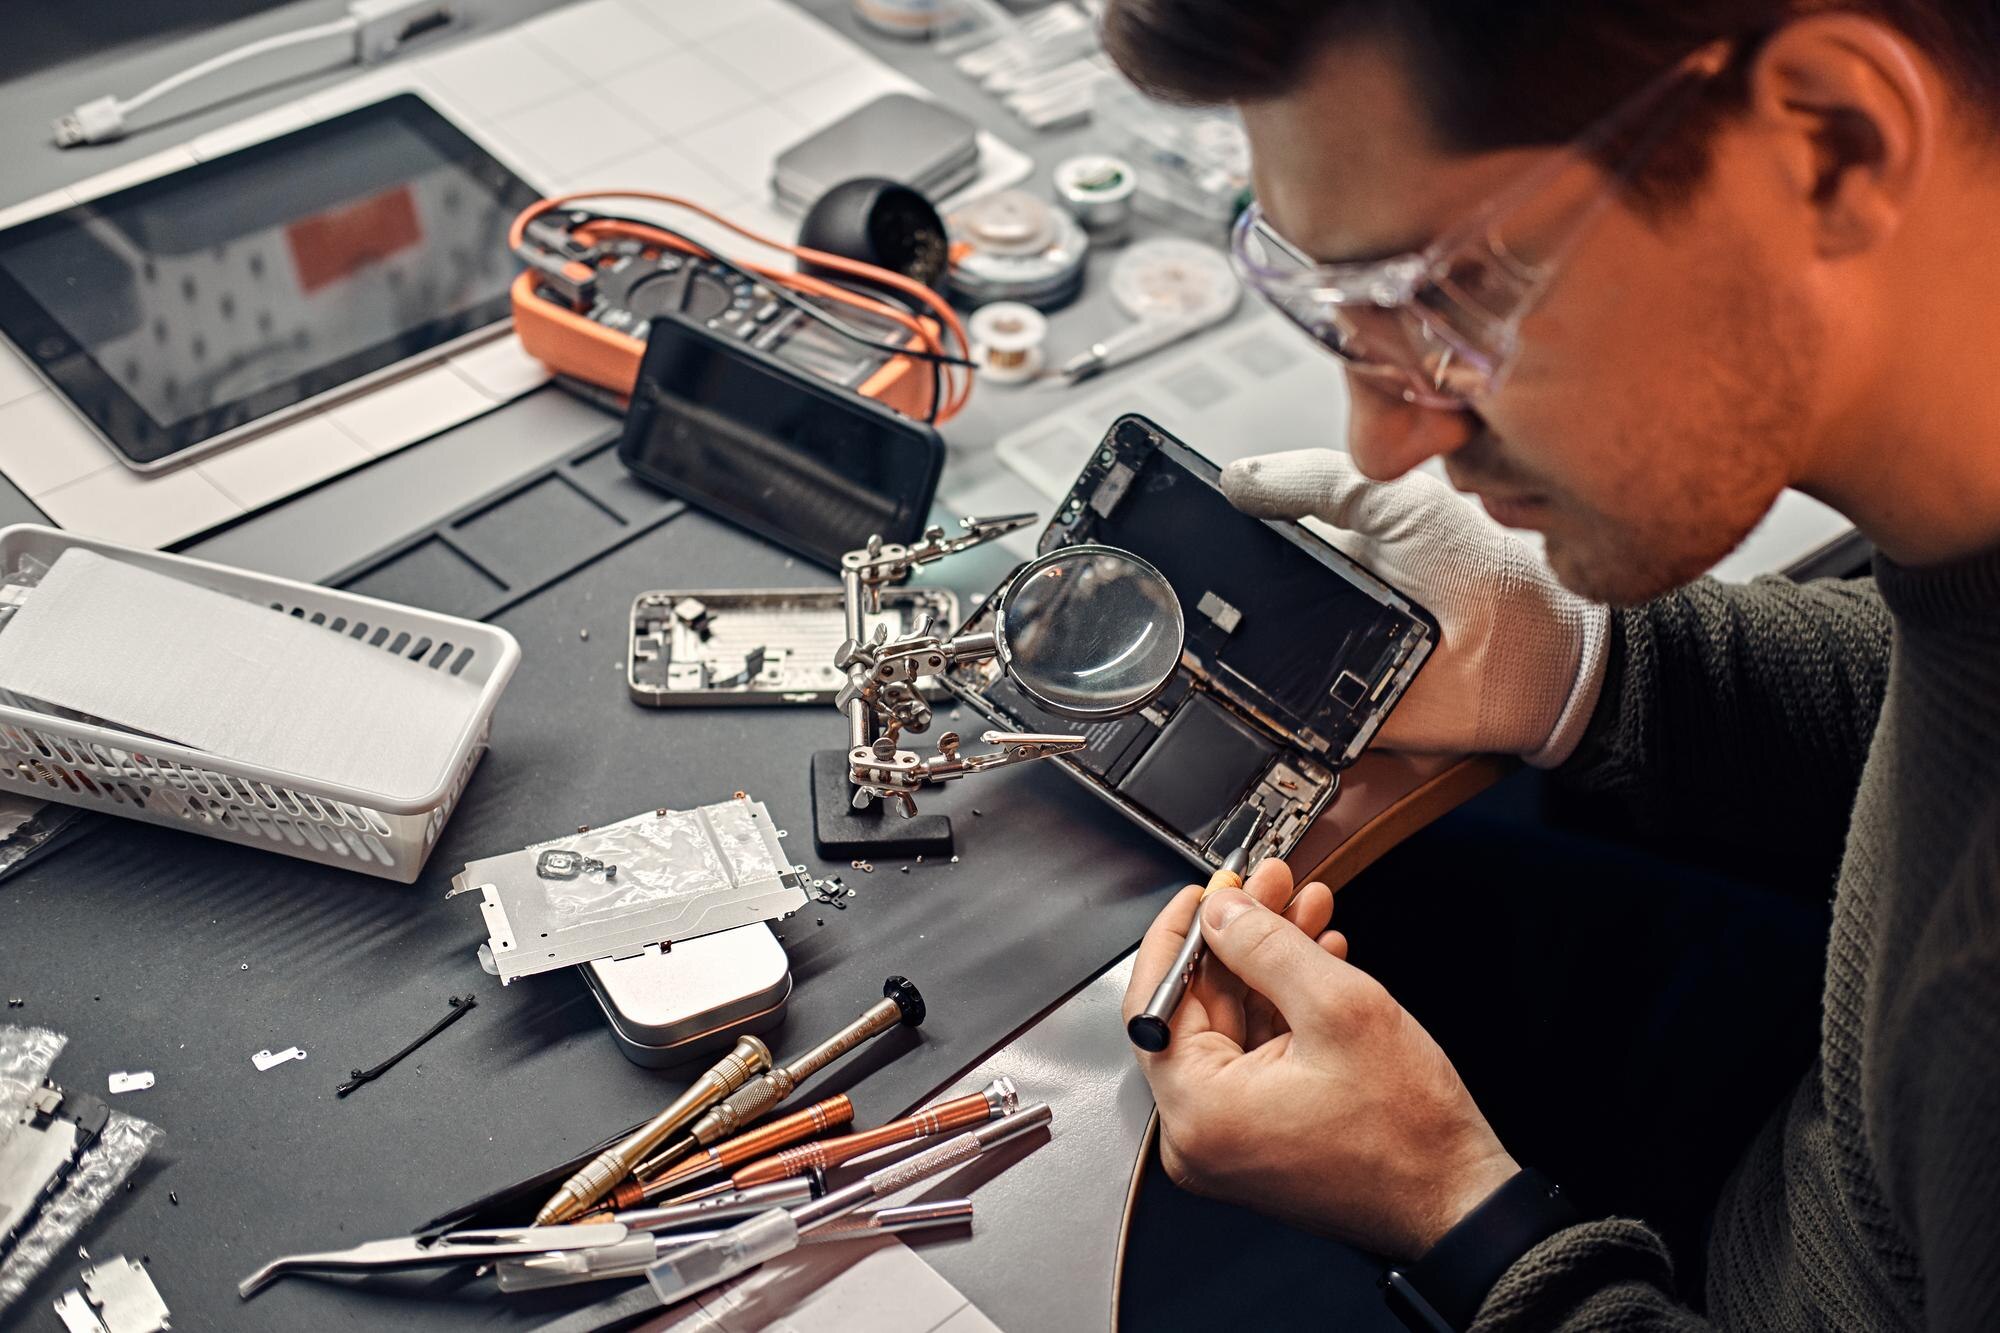
A camera repair guide can help photographers understand what to check when a digital camera suddenly stops working, produces blurry images, drains batteries quickly, or develops lens and screen problems. While some faults require professional camera repair, many everyday issues can be investigated through careful digital camera troubleshooting and basic maintenance. Learning about common camera problems, following a practical camera troubleshooting guide, and applying simple camera repair tips can often save time and prevent minor faults from becoming expensive repairs. Whether you are dealing with digital camera problems, a camera not working, or simply want to learn how to fix a digital camera, the first step is always to identify the symptoms and avoid forcing any component that appears stuck or damaged.
Understanding Common Digital Camera Problems
Digital cameras combine mechanical, electronic, optical, and software components. A problem with one component can sometimes appear to be a problem with another. For example, a camera that refuses to take a picture might have a weak battery, a full memory card, a lens obstruction, or an internal mechanical fault.
Common symptoms include:
- The camera does not turn on.
- The camera turns off unexpectedly.
- The lens does not extend or retract.
- Images appear blurry.
- Autofocus fails to lock.
- The screen remains black.
- Buttons do not respond.
- The shutter does not release.
- The battery drains unusually quickly.
- The camera displays an error message.
- Images are not saved correctly.
- The memory card is not recognized.
Before attempting a repair, determine whether the problem is caused by power, settings, accessories, physical damage, dirt, or an internal component.
Start With Basic Digital Camera Troubleshooting
Before opening a camera body or attempting any complicated repair, perform basic digital camera troubleshooting. Many apparent hardware problems have simple causes.
First, turn the camera off. Remove the battery and memory card if the camera design permits it. Wait for a short period before reinstalling them. Check that the battery is charged and inserted correctly.
Next, inspect the memory card. A full, damaged, incompatible, or incorrectly inserted card can prevent normal operation.
If the camera has recently been exposed to moisture, extreme temperatures, sand, or dust, do not immediately attempt to power it on repeatedly. External conditions can affect sensitive electronic components.
Also check the camera’s settings. Some problems that look like hardware failures may actually be caused by shooting modes, disabled controls, incorrect focus settings, or other configuration changes.
How to Troubleshoot a Camera That Fails to Power On
One of the most common searches related to how to fix a camera that won’t turn on involves the battery. Batteries naturally lose capacity over time, and a battery that once lasted for hundreds of photographs may eventually become unreliable.
Try the following:
- Remove the battery.
- Inspect it for visible swelling, leakage, or damage.
- Check the battery contacts for dirt or corrosion.
- Make sure the battery is correctly oriented.
- Fully charge the battery using the appropriate charger.
- If available, test with a known-compatible battery.
- Check whether the battery compartment closes correctly.
- Try powering the camera on without unnecessary accessories.
Do not use a damaged or swollen lithium-ion battery. Such batteries should be handled and disposed of according to appropriate local safety procedures.
If the camera still does not respond after using a properly charged, compatible battery, the problem could involve the power circuitry, internal contacts, switch, or another component. At that point, professional service may be safer than attempting to disassemble the camera.
Camera Battery Problems
Camera battery problems are particularly common as cameras age. Batteries have a limited service life, and their performance can decline through repeated charging cycles and prolonged use.
Signs of battery-related problems can include:
- Very short operating time.
- Sudden shutdowns.
- Battery indicators changing rapidly.
- The camera refusing to start.
- Slow or incomplete charging.
- The battery becoming unusually warm.
- The camera operating normally with one battery but not another.
Keep batteries away from excessive heat and moisture. Store removable batteries according to the manufacturer’s recommendations, particularly when the camera will not be used for an extended period.
A replacement battery should match the camera’s specifications. Avoid questionable batteries that lack appropriate safety protections.
How to Fix Digital Camera Battery Problems
If you want to know how to fix digital camera battery problems, begin by determining whether the issue is actually with the battery.
If possible, replace the current battery with another compatible one to determine whether the battery is causing the problem. If the camera works normally with the replacement, the original battery may have reached the end of its useful life.
If neither battery works, inspect the charger and charging connection. A faulty charger, cable, or charging port can create symptoms that resemble a dead battery.
Do not attempt to repair a lithium-ion battery by opening it, puncturing it, or connecting individual cells manually. Battery packs contain components that require appropriate handling.
Camera Lens Problems
Camera lens problems can be particularly frustrating because many digital cameras use small mechanical systems to extend, retract, focus, and zoom the lens.
Possible symptoms include:
- Lens will not extend.
- Lens becomes stuck.
- Lens will not retract.
- Zoom stops working.
- Images become consistently blurry.
- Camera displays a lens error.
- Lens makes unusual sounds.
- The lens appears misaligned.
Dust, sand, impact damage, foreign objects, or mechanical wear can interfere with lens movement.
Never force a motorized lens back into position. Applying pressure can damage gears, guides, or other internal components.
How to Fix Digital Camera Lens Problems
Learning how to fix digital camera lens problems starts with safe external inspection.
Turn the camera off and examine the lens barrel under good lighting. Look for visible dust, sand, or objects around the moving sections. Use a blower designed for camera equipment to remove loose particles.
Avoid pushing debris deeper into the lens mechanism.
If the lens was recently dropped or struck, mechanical misalignment may be responsible. In such cases, repeated attempts to extend or retract the lens could worsen the damage.
A lens that remains stuck after basic inspection may require professional camera repair.
Camera Autofocus Problems
Camera autofocus problems can result from dirty lenses, unsuitable lighting, incorrect focus modes, moving subjects, low contrast, or mechanical or electronic faults.
Before assuming the autofocus system is broken, check the shooting environment.
Autofocus may struggle when:
- The subject has little contrast.
- Lighting is very low.
- The subject is extremely close.
- The subject is moving quickly.
- The focus area is positioned away from the subject.
- The lens surface is dirty.
- The camera is set to an unsuitable focus mode.
Try focusing on a well-lit object with clear edges. If autofocus works in this situation, the system may be functioning normally and the original problem may have been environmental.
How to Fix Camera Autofocus Issues
For anyone wondering how to fix camera autofocus issues, start with the lens.
Use a clean, appropriate lens-cleaning method to remove fingerprints or smudges. Do not rub the lens with clothing or tissues that may contain abrasive particles.
Next, check the autofocus settings. Depending on the camera, you may have options for single-shot autofocus, continuous autofocus, face detection, subject tracking, or manual focus.
If autofocus consistently fails across different subjects and lighting conditions, the lens or camera body may require inspection.
Camera Screen Issues
Camera screen issues can range from a completely black display to flickering, lines, inaccurate colors, unresponsive controls, or a screen that works intermittently.
First, determine whether the camera itself is operating.
Try taking a photograph even if the screen appears dark. If the camera captures images normally, the issue may be related to the display rather than the entire camera.
Check whether the display brightness or screen settings have changed. Some cameras also provide an electronic viewfinder, allowing you to determine whether the problem affects only the rear display.
If the screen was damaged after a fall or impact, avoid pressing on it. Cracked or damaged displays can require replacement.
Camera Shutter Problems
Camera shutter problems can prevent photographs from being captured or create unusual exposure results.
Possible symptoms include:
- Shutter button does not respond.
- Camera refuses to capture an image.
- Shutter remains open or closed.
- Images appear unusually dark or bright.
- Camera produces repeated shutter errors.
- Continuous shooting stops unexpectedly.
Before assuming the shutter mechanism has failed, check the battery, memory card, shooting mode, and camera error messages.
Some cameras will not release the shutter when they cannot focus, when the memory card is full, or when another operating condition has not been satisfied.
If the shutter mechanism itself is physically damaged, professional servicing is generally the safest approach.
Memory Card Problems
A memory card can also create digital camera problems that appear to be camera failures.
If the camera reports that the card cannot be read, remove it and inspect it for visible damage. Make sure it is inserted correctly.
If possible, test another compatible card.
Do not repeatedly remove a card while the camera is writing data. Doing so can corrupt files.
If important photographs are stored on a problematic card, avoid immediately formatting it. Data recovery may become more difficult after additional writing or formatting operations.
Blurry Photos and Image Quality Problems
Not every image-quality problem requires digital camera repair.
Blurry photographs may result from:
- Camera movement.
- Slow shutter speed.
- Incorrect focus.
- Dirty lens glass.
- Subject movement.
- Incorrect shooting settings.
- Lens damage.
- Autofocus difficulties.
Clean the lens carefully and take test photographs in good lighting. Use a stationary subject and an appropriate shutter speed.
If images remain blurry even when the camera is mounted securely and focused correctly, the lens or imaging system may require further investigation.
Cleaning Your Camera Safely
Knowing how to clean and maintain a digital camera is an important part of camera maintenance.
For exterior surfaces, use a clean microfiber cloth suitable for camera equipment. Loose dust can often be removed with an appropriate air blower.
Pay special attention to:
- Lens surfaces.
- Viewfinder.
- LCD screen.
- Battery compartment.
- Memory card slot.
- Camera body seams.
- External buttons and controls.
Avoid spraying liquid directly onto the camera.
For lens cleaning, remove loose particles before wiping the glass. This helps prevent accidental scratches or damage to the surface.
Sensor cleaning requires additional care. If your camera has a removable lens and a visible sensor, do not touch the sensor with your fingers or use improvised cleaning materials. Sensor cleaning products and procedures should be appropriate for the specific camera.
Digital Camera Maintenance
Regular digital camera maintenance can reduce the likelihood of avoidable problems.
Useful habits include:
- Store the camera in a clean, dry environment.
- Use a protective case when transporting it.
- Keep the lens cap on when appropriate.
- Avoid unnecessary exposure to dust and sand.
- Keep batteries properly stored.
- Remove the battery if recommended for long-term storage.
- Back up photographs regularly.
- Keep memory cards in good condition.
- Avoid extreme temperatures.
- Handle lens mechanisms gently.
- Clean the exterior periodically.
Good maintenance is often easier and less expensive than repairing damage after it occurs.
Moisture and Water Exposure
Moisture is one of the more serious risks to electronic cameras.
If a non-waterproof camera becomes wet, turn it off and disconnect the battery as soon as it is safe to do so. Do not repeatedly attempt to power it on to see whether it still works.
Avoid using direct heat such as a hair dryer because excessive heat can damage components, adhesives, screens, and plastics.
If significant water entered the camera, professional evaluation may be appropriate.
Water-resistant or weather-sealed cameras also have limits. Being labeled weather-resistant does not necessarily mean that a camera can safely be submerged.
How to Troubleshoot a Digital Camera Step by Step
If you are learning how to troubleshoot a digital camera, use a systematic process rather than changing multiple things at once.
Step 1: Identify the Symptom
Write down exactly what the camera is doing.
For example, “lens does not extend” is more useful than simply saying “camera is broken.”
Step 2: Check the Power
Confirm that the battery is charged and properly installed.
Step 3: Remove Accessories
Temporarily remove unnecessary accessories, memory cards, or external equipment where appropriate.
Step 4: Inspect the Camera
Look for obvious physical damage, dirt, moisture, or foreign objects.
Step 5: Check Settings
Review focus, shooting, display, and other relevant settings.
Step 6: Test a Simple Situation
Use a well-lit, stationary subject and basic shooting settings.
Step 7: Check Error Messages
Write down any error code or message displayed by the camera.
Step 8: Decide Whether Professional Repair Is Needed
If the problem involves internal electronics, broken mechanical parts, liquid damage, or persistent errors, professional service may be the safest option.
How to Repair a Digital Camera at Home
The question of how to repair a digital camera at home requires an important distinction between external maintenance and internal repair.
Safe home tasks may include:
- Replacing a compatible battery.
- Replacing a memory card.
- Cleaning the exterior.
- Cleaning the lens surface appropriately.
- Removing loose external dust.
- Checking connections.
- Resetting settings when the manufacturer provides a reset option.
Internal repairs are more complicated. Digital cameras can contain delicate circuit boards, small mechanical components, capacitors, flexible cables, and precision optical assemblies.
Opening a camera can also introduce dust or cause accidental damage.
Unless you have appropriate electronics and camera-repair experience, internal disassembly is generally better left to a qualified technician.
Common Digital Camera Issues and Solutions
Here is a simple overview of common digital camera issues and solutions:
| Problem | Possible Cause | First Step |
| Camera will not turn on | Battery, contacts, power system | Charge and reseat battery |
| Lens stuck | Dirt, impact, mechanical fault | Inspect without forcing |
| Autofocus fails | Low light, settings, dirty lens | Test with a high-contrast subject |
| Screen is black | Display setting or screen fault | Check display controls and test capture |
| Battery drains quickly | Aging battery or power consumption | Test a compatible replacement |
| Camera will not save photos | Full or faulty card | Check/test memory card |
| Images are blurry | Focus, movement, lens issue | Clean lens and test stationary subject |
| Shutter will not release | Settings, card, battery, fault | Check basic operating conditions |
| Camera shows an error | Internal or accessory issue | Record message and consult documentation |
This table should be used as a starting point rather than a definitive diagnosis.
When Professional Camera Repair Is Necessary
Some problems should not be handled as DIY projects.
Seek professional camera repair when the camera has:
- Significant water damage.
- A cracked or severely damaged lens.
- A broken internal mechanism.
- A damaged image sensor.
- Persistent electronic errors.
- Severe impact damage.
- A shutter that requires internal replacement.
- A lens that is mechanically misaligned.
- A screen requiring replacement.
- A power circuit that appears damaged.
A qualified technician can inspect the camera using appropriate tools and determine whether repair is economically worthwhile.
Avoiding Further Damage During Repair
One of the most important camera repair tips is knowing when to stop.
Do not force buttons, memory cards, battery doors, or lens mechanisms.
Do not insert sharp objects into ports.
Do not use household cleaners on optical surfaces.
Do not open electronic components without understanding the risks.
Do not continue powering a camera that has suffered significant liquid exposure.
Do not experiment with incompatible batteries, chargers, cables, or accessories.
A repair attempt that begins with a minor problem can become expensive if delicate components are damaged.
Easy Digital Camera Repair Tips for Everyday Users
These easy digital camera repair tips can help prevent many common problems:
Keep the Lens Clean
Fingerprints and dust can reduce image quality and interfere with autofocus.
Carry a Spare Battery
A properly stored spare battery can help distinguish between a camera fault and a depleted battery.
Keep a Backup Memory Card
A second compatible card can help determine whether saving problems are caused by the original card.
Protect the Camera
Use a suitable case when carrying the camera in a bag.
Avoid Extreme Conditions
Excessive heat, cold, humidity, dust, and sand can affect camera performance.
Back Up Photos
Do not rely on a single memory card to store important photographs.
Read Error Messages
An error message can provide valuable information about the problem.
Do Not Force Mechanical Parts
Resistance is often a sign that something needs inspection rather than additional pressure.
Preventing Future Digital Camera Problems
The best approach to fixing digital camera issues is often preventing them.
Develop a simple maintenance routine. Clean the camera periodically, inspect the battery, check memory cards, keep the lens protected, and store the equipment appropriately.
Before a major photography trip, test the camera, battery, memory cards, charger, lens, and essential accessories.
Taking a few test photographs can reveal problems before you arrive at an important event or destination.
Conclusion
A digital camera may appear complicated when something goes wrong, but many common camera problems can be narrowed down through careful observation and systematic troubleshooting. Learning how to fix common digital camera problems begins with simple checks involving the battery, memory card, lens, settings, display, and shooting conditions.
Whether you are dealing with camera battery problems, camera lens problems, camera autofocus problems, camera screen issues, or camera shutter problems, avoid immediately assuming that an internal component has failed. Basic digital camera troubleshooting, careful cleaning, and proper digital camera maintenance can resolve or identify many issues.
At the same time, DIY camera repair has limits. Mechanical lens failures, liquid damage, internal electronic faults, broken shutters, and damaged sensors may require professional attention. The safest camera troubleshooting guide is one that emphasizes diagnosis before intervention and careful handling throughout the process.
With regular camera maintenance, sensible storage, proper cleaning, and cautious troubleshooting, photographers can extend the useful life of their equipment and reduce the risk of avoidable damage. Most importantly, knowing when to perform a simple fix and when to seek professional help is an essential part of responsible digital camera ownership.
About the Author